
 Español
 Français
Blogs for users experience
Getting Better Marks Starts with a Better Stencil: Practical Tips for Stencil Quality
Jun

When an electrochemical mark looks wrong — fuzzy edges, incomplete fill, uneven color — the instinct is often to adjust the device setting or change the electrolyte. In most cases, the actual problem is the stencil. Stencil quality and handling have more influence over mark quality than any other variable in the process.
Here’s what to look for and what to change if your marks aren’t meeting the standard you need.
Stencil Material Matters
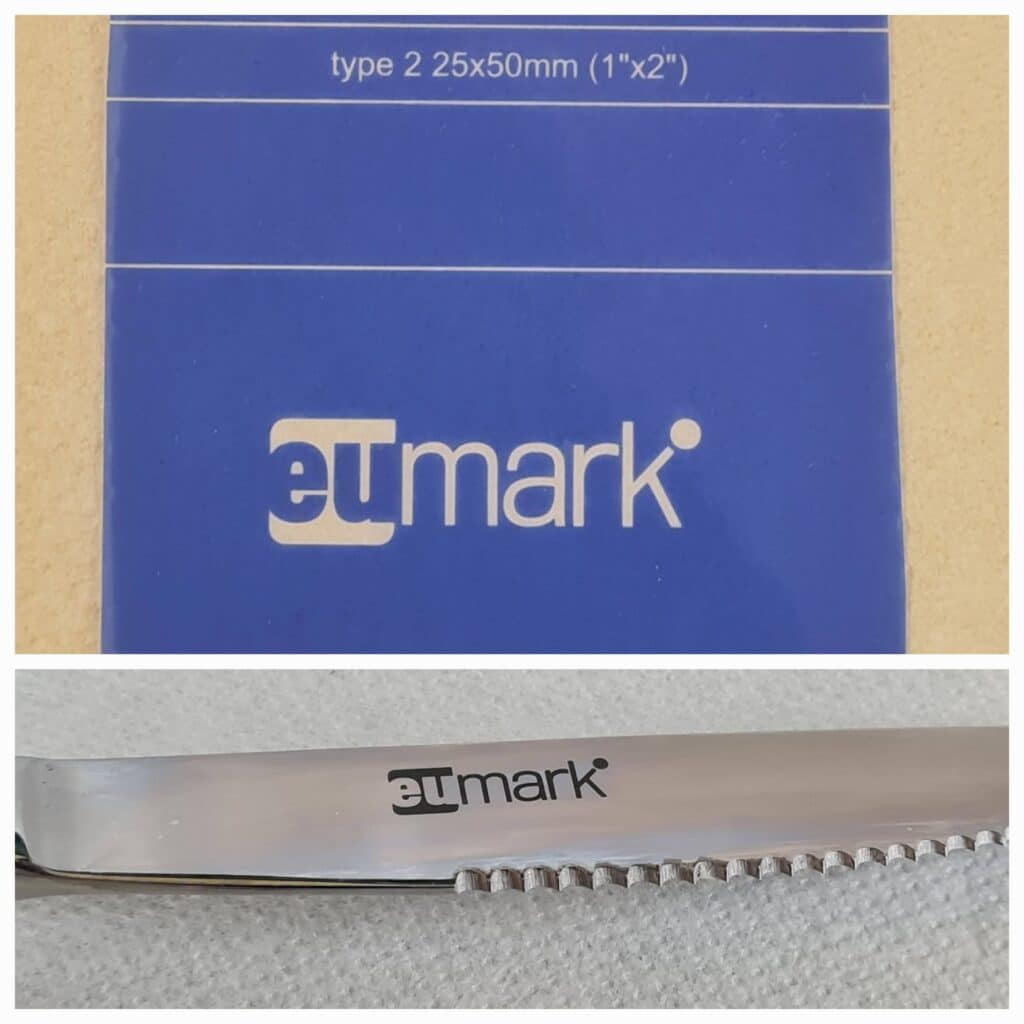
EuMark stencils are produced on a specific film material that balances electrical non-conductivity (so current passes only through the open marking area), dimensional stability (so the image doesn’t stretch or distort under the pad), and adhesion (so it stays flat against the metal surface during marking).
Using stencils from an incompatible source — generic overhead transparency film, for example — can produce marks that look acceptable at first but fail to maintain edge quality across repeated uses or when marking curved surfaces.
Flat Contact is Everything
The single most common cause of uneven or blurred marks is incomplete contact between the stencil and the metal surface. If any part of the stencil lifts away from the surface during marking, current takes the path of least resistance — which is not through the stencil opening. The result is a mark with soft or missing edges in those areas.
On flat surfaces, press the stencil firmly against the metal and ensure there are no air bubbles before applying the pad. On curved surfaces, use a stencil that has been cut to fit the curvature, or use a flexible pad that provides even pressure across the contact area.
Stencil Positioning and Alignment
Always position the stencil completely within the area you intend to mark, with at least 5mm of stencil film surrounding the open marking area on all sides. Insufficient border allows electrolyte to migrate beyond the stencil edge, creating a halo effect around the mark.
For repeat marking on multiple identical parts, a simple jig or tape guide for stencil placement reduces positioning time and improves consistency across a production run.
How Many Uses Per Stencil
Film stencils can be reused multiple times before the open areas begin to show wear that affects mark quality. The number of uses depends on the marking current and duration, the abrasiveness of the surface being marked, and how carefully the stencil is cleaned and stored between uses.
As a general guide, inspect the stencil openings after every 20 to 30 marks on production runs. If the edges of the opening show any fraying, roughness, or dimensional change, replace the stencil. Marking with a worn stencil degrades quality faster than any other single factor.
Printed Stencils vs. Pre-Cut Film
If mark quality consistency is a priority — especially for logos or text with fine detail — stencils produced on the EuMark stencil printer offer more reliable dimensional accuracy than hand-cut or externally sourced film. The printer produces consistent open-area geometry every time, eliminating the variation that enters through manual cutting or third-party production.